First off, apologies for the poor picture quality.
We've found that the weighted blankets we bought the kids (ours are from sensacalm.com) were a phenomenal investment, and even a weighted lap pad I purchased to use during the school day was very popular. We've got 6 kids living here and they ALL want to use the lap pad at the same time so I wanted to make something for each child to have as their own.
I loved this tutorial I found on Pinterest for making weighted stuffed animals however I have made a few on my own in the past without success. The stitching comes undone - especially when I tried to wash them. My kids are big fans of fidgets of all kinds so I decided to make stuffed animals that satisfy their sensory-fidget needs as well.
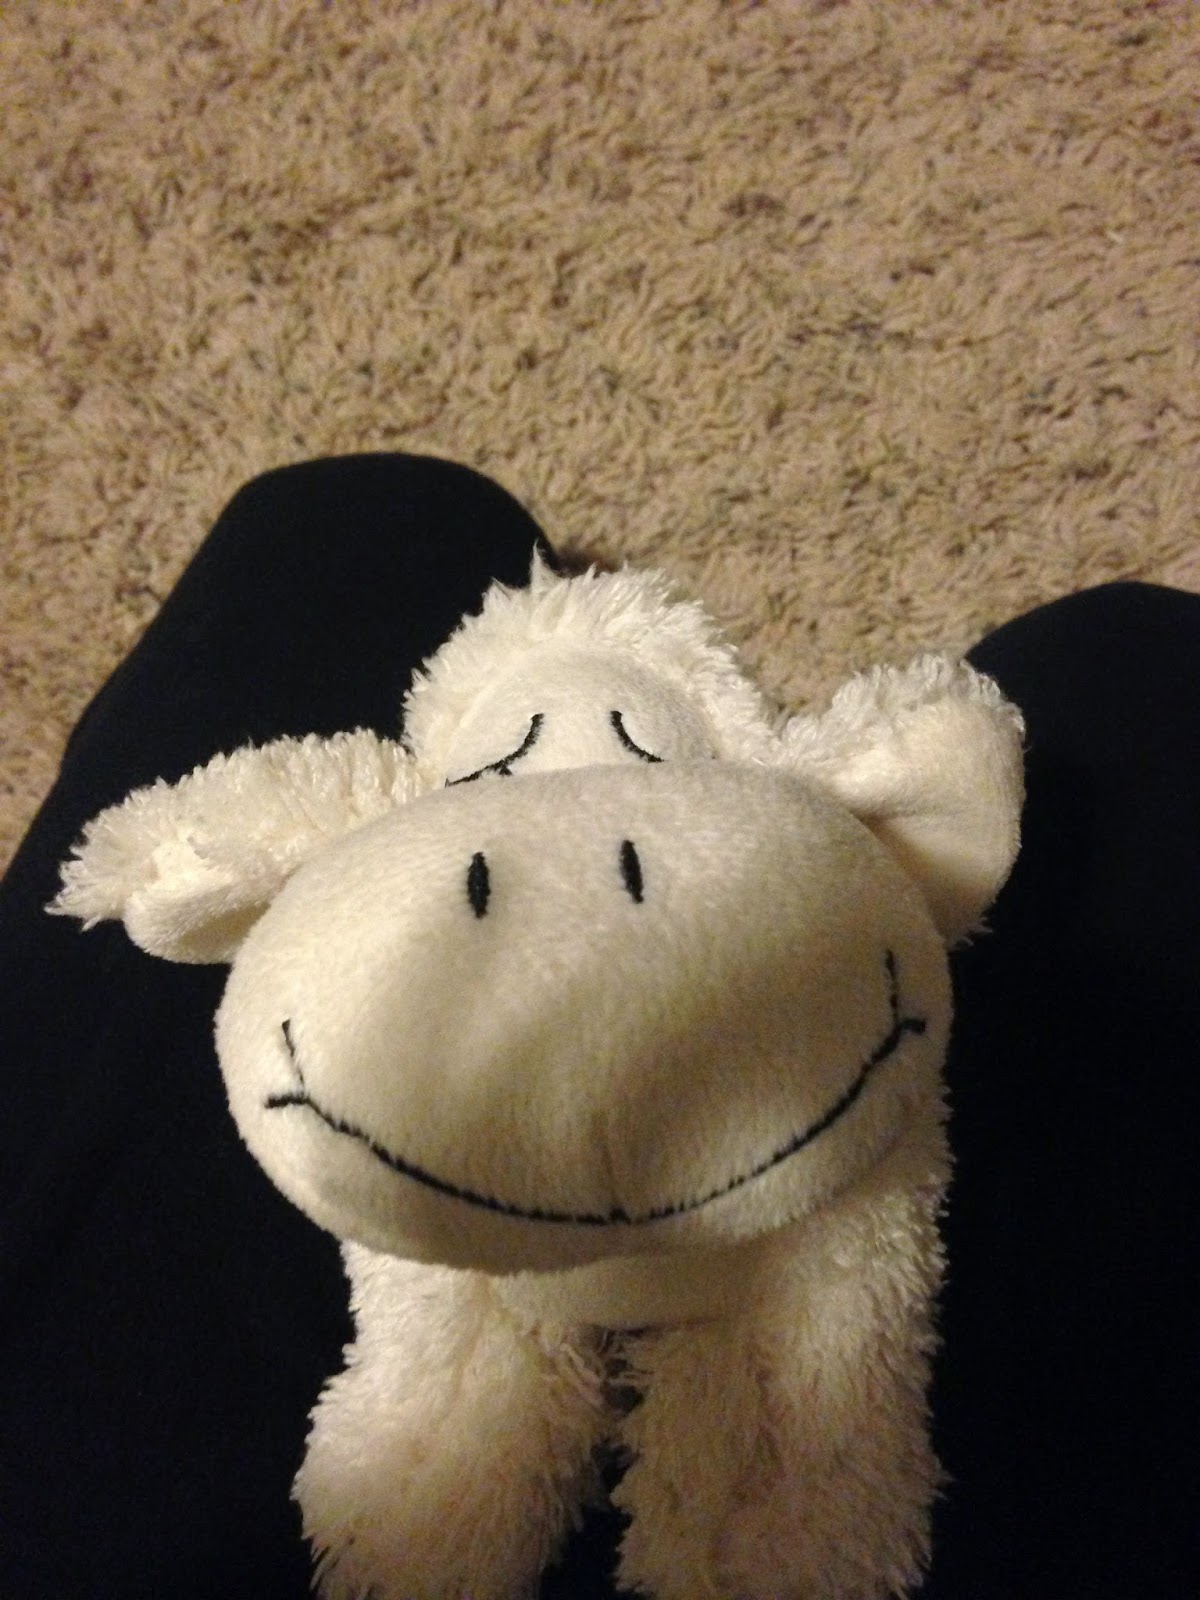
I wanted to be able to remove the filling to wash the stuffed animal and also add more essential oils once the scent faded. It would be nice to try different fillings until I find the weight that works best. I totally COULD sew zippers onto stuffed animals but I'm lazy/busy/not an expert seamstress so I was SO thrilled to find these pencil cases on clearance at Staples. They are soft, fuzzy, and adorable - and have zippers with space to fill 'em up!
To determine the amount of filling that would fit I first used Ziploc bags. For the 4 girls I used uncooked rice and lavender scented Epsom salts. After filling a bag squeeze out all the air and place inside of another Ziploc bag. Wiggle the rice around inside the bag until able to zip the pencil case/animal closed.
I filled another Ziploc bag with only scented Epsom salts and added this in last. At first I tried to place it so the tummy of the animal was scented but there was too much stuffing in that area. So I placed it in last and the rear of the animal has the strongest scent. The kids think it is hilarious to "small the butt" of them!
Once I knew how much rice to use I made bean bags out of fabric scraps and poured the rice into the bean bag and stitched it shut. I put the bags of rice into the pencil pouches and zipped them shut. Since Bruce is allergic to rice I used dry barley in his. Taylor wanted hers to weigh more (they are about 2 1/2 lbs each) so I replaced hers with dried corn and that was just above 3 lbs.
Finished product -- heavier than an ordinary stuffed animal, soft, flexible so that the kids can fidget with them as well. We call them our "desk buddies" and have them sit in their laps during school.
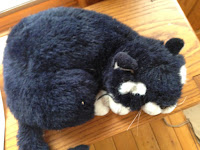
Hands down, this kitty is Bruce's favorite! He doesn't have much in the way of attachment objects aside from my breasts, but this kitty is one exception. He already loves animals and enjoys pretending to be a cat or dog daily.
I used a seam ripper to open the stuffy at the bottom side. After removing a fair amount of the stuffing/filling I put a homemade beanbag I filled with glass beads (used in vases, found at craft store). After adding a bit of the stuffing back in to pad the bottom I hand stitched the cat back up.
This was actually made years ago for my girls so it has held up REALLY well!
Another thing we tried, which turned out great, was to weigh down a Build a Bear before filling. We had so much conflicting answers in-store (yes, you can weigh it down IN the store, yes, you can stuff it but not tie it so it can be filled at home... then the manager on duty that day would not let me do either).
We ended up purchasing the animal itself, UNSTUFFED, from the Build a Bear website. Bruce chose Batman Bear. I experimented with MANY kinds of fillings to add weight. In the end, what worked best to be small but heavy were rocks for flower vases. Very tiny pebbles but they were heavy enough. I packaged small mesh baggies with the pebbles and stuffed them into BatBears' feet and bottom half.
In the store we added the fluff on top of and around all the weighted baggies. It turned out perfect! It weighs just over 5 lbs and is just right for carrying around and cuddling with at night.


No comments:
Post a Comment